1. Install Visual Studio Code
Download and install VS Code from the official site. This becomes your main editor for Apex, LWC, and metadata files.
- ✓Install the latest stable version
- ✓Open the Extensions panel
- ✓Keep the editor updated regularly
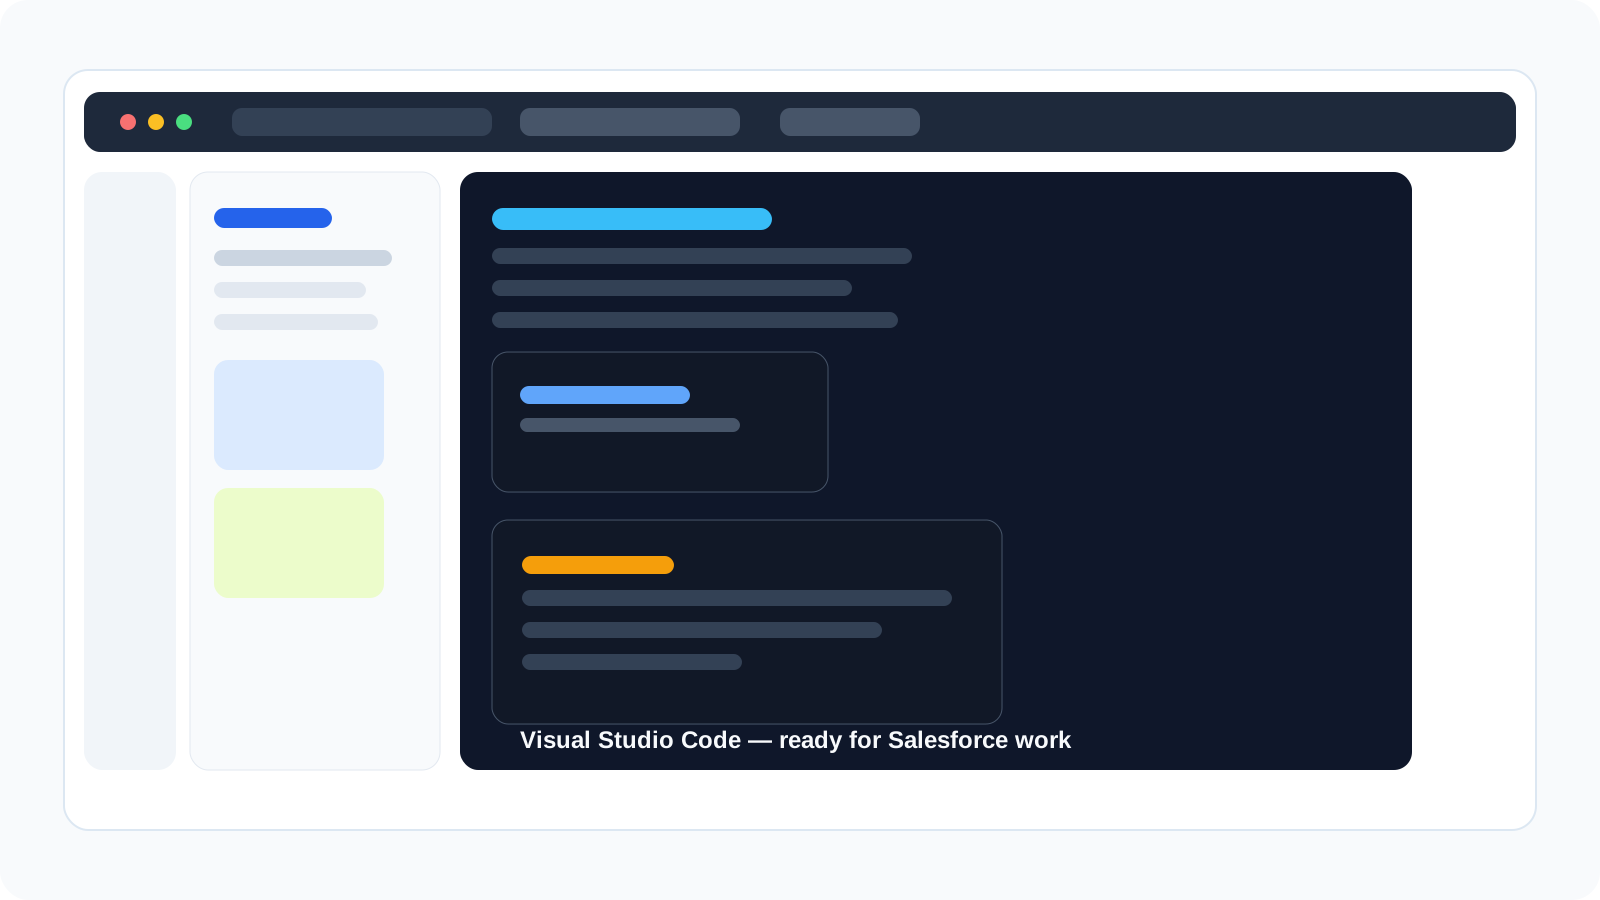
This guide walks you from installation to your first Salesforce project, with practical examples and screenshots for each important step.
Download and install VS Code from the official site. This becomes your main editor for Apex, LWC, and metadata files.
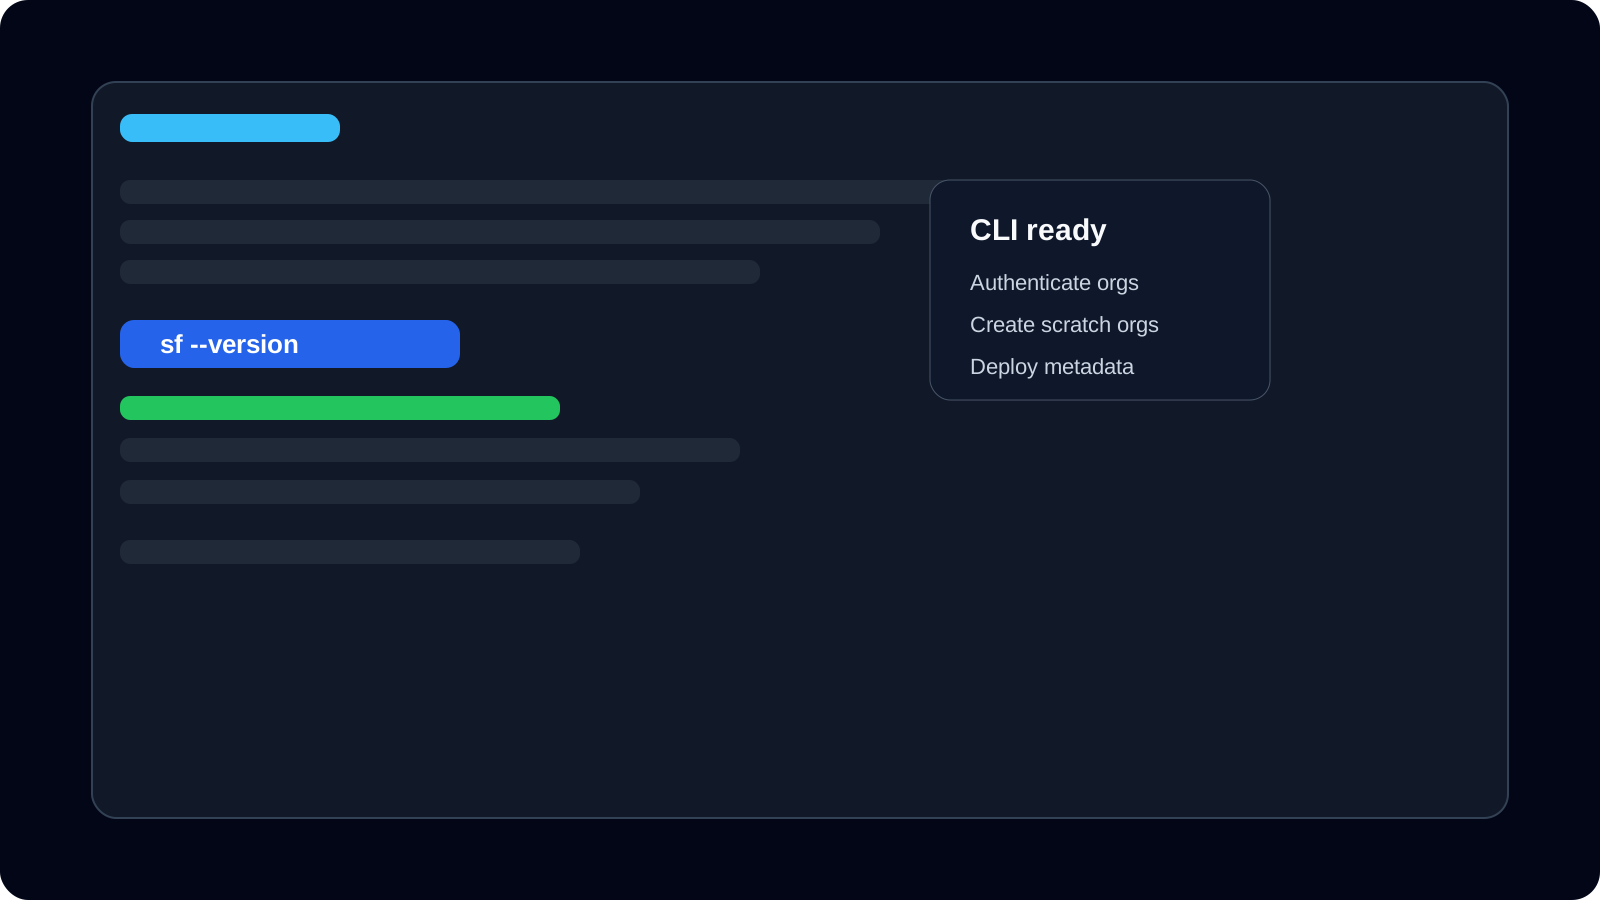
Install Salesforce CLI so you can authenticate orgs, create projects, and deploy metadata from the terminal.
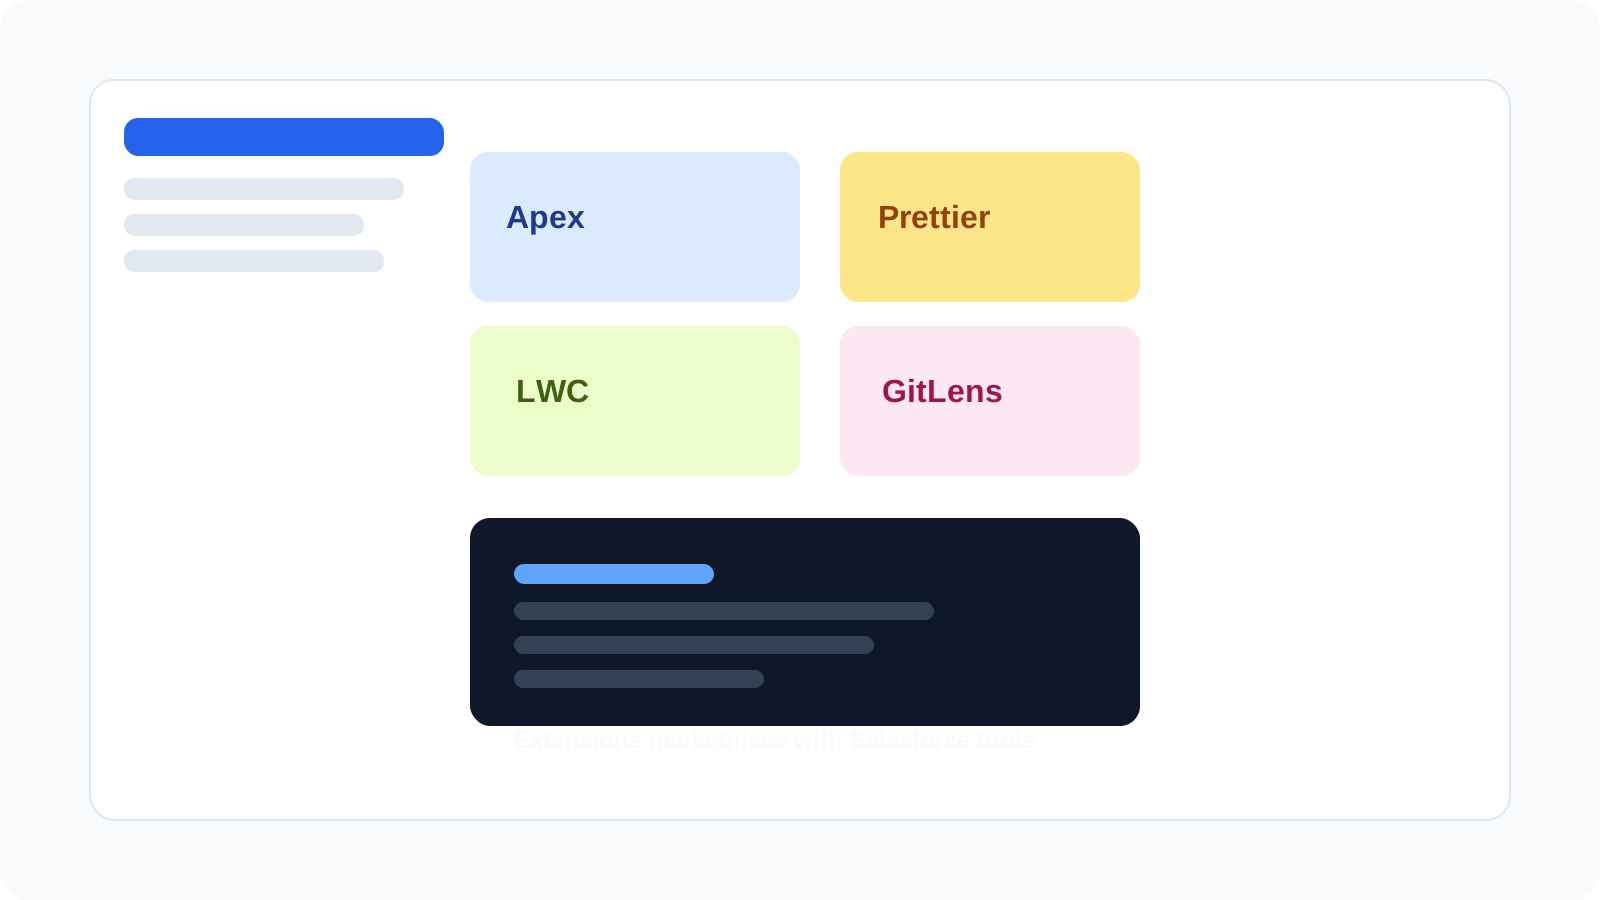
Extensions make Salesforce development faster by adding Apex support, LWC helpers, code formatting, and debugging help.
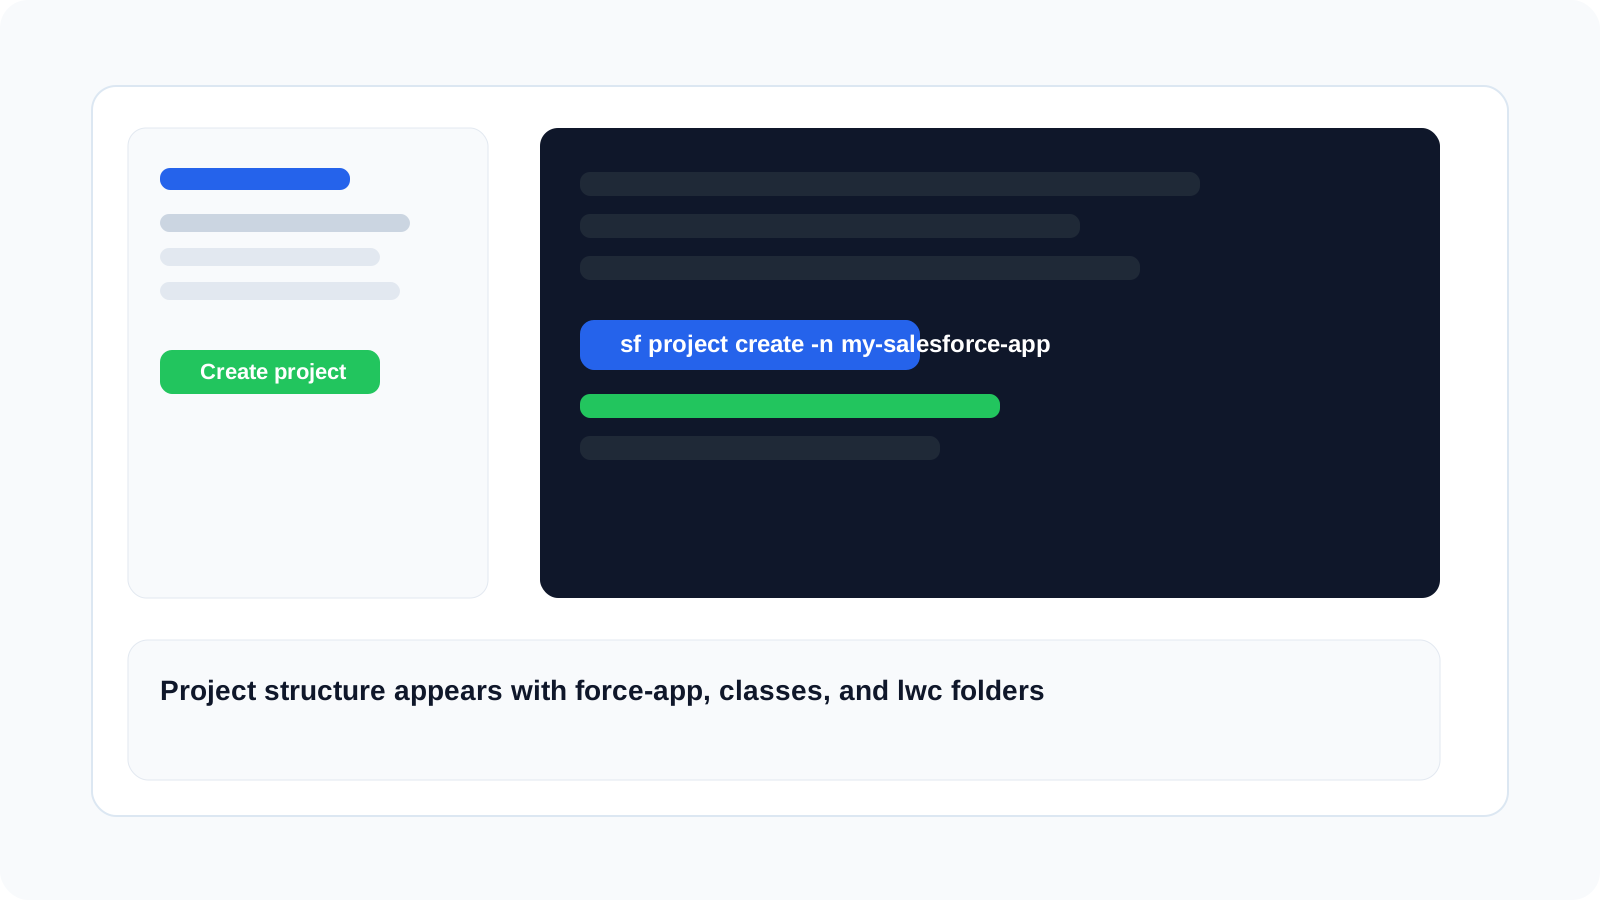
Create a new project with a sample name such as my-salesforce-app and connect it to a scratch org.
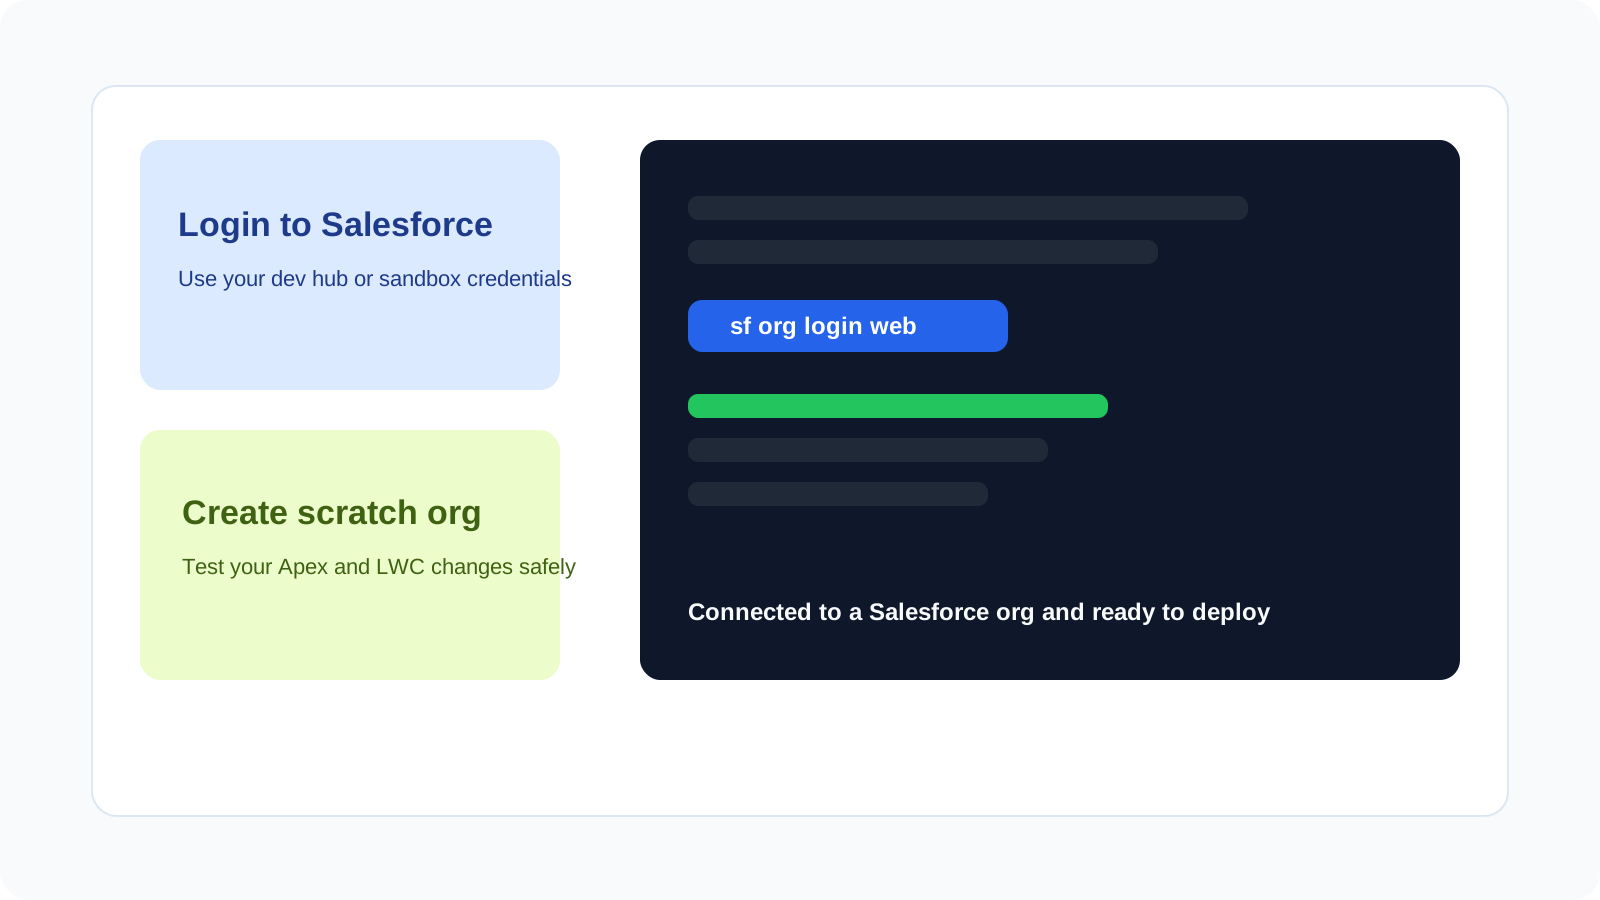
Authenticate to a login org or a scratch org so you can push and pull metadata safely.
Provides core Salesforce tools for Apex, LWC, and SFDX workflows.
Example: Use it to scaffold a new Aura component or open a Lightning component in a project.
Adds Apex syntax highlighting, IntelliSense, and better code navigation.
Example: Write trigger logic and service classes with autocomplete and error hints.
Helps with Lightning Web Components markup, JavaScript, and metadata awareness.
Example: Build a lightning-card or wire service component with easier authoring support.
Keeps Apex, JavaScript, and HTML files consistently formatted.
Example: Format a new LWC component before saving it to your repository.
Catches common mistakes and coding issues while you write JavaScript.
Example: Spot issues in a JavaScript controller before you deploy it.
Shows code history and who changed what in your Salesforce project files.
Example: Review how a class or component evolved across team commits.
sf update
sf plugins install @salesforce/sfdx-scanner
sf org login web -r https://login.salesforce.com
sf project create -n my-salesforce-app -t standard
sf org create scratch -f config/project-scratch-def.json -a devhub -d -y 30
Example: create a new Apex class, add an LWC component, and deploy it to a scratch org to see your changes in Salesforce.